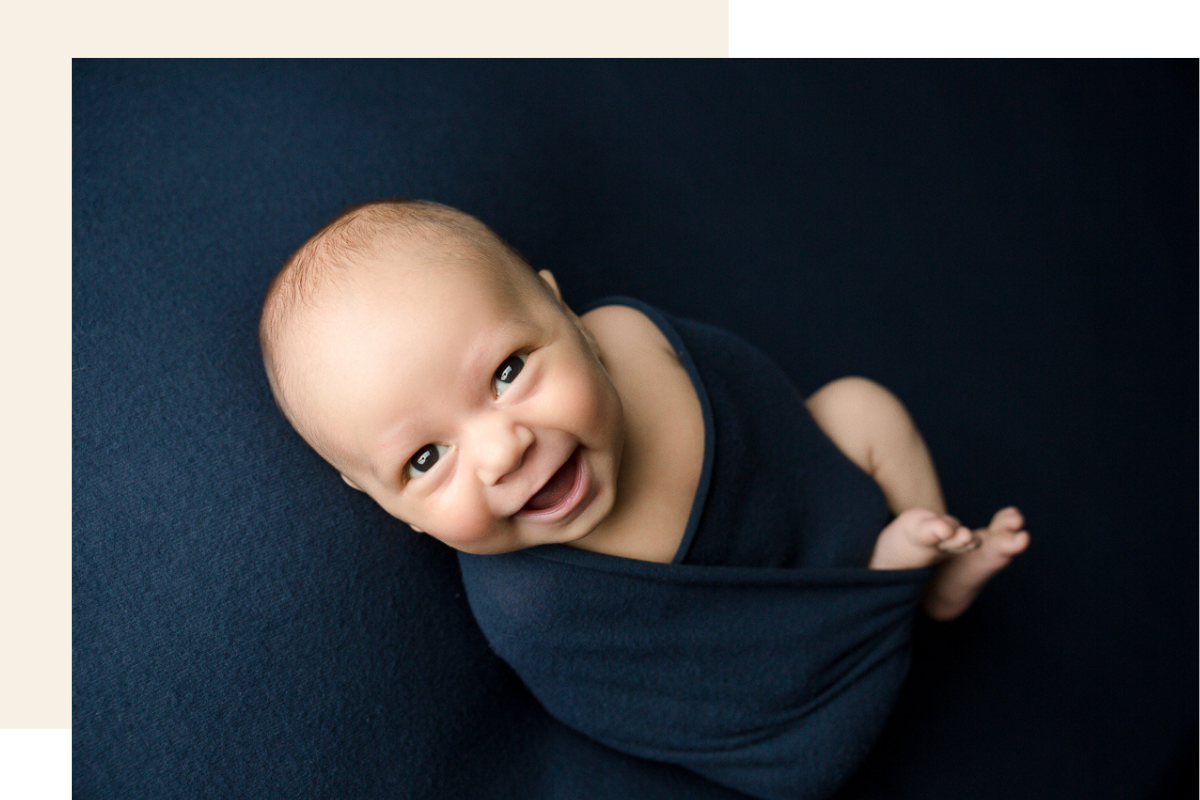
How to Set Up a Newborn Photography Backdrop

It can be tempting to just throw your newborn fabrics down and ignore the wrinkles. "I'll edit that out later" Ever heard yourself saying that? But setting up your backdrops the right way can take just a few extra minutes while setting up, and save you tonnnns of time in your post processing. Setting up your newborn photography fabric backdrops the right way can be a huge game changer! If you do it right, you shouldn't have to edit out any wrinkles in your fabric, or fight with your backdrop while trying to pose the baby. Follow these steps to ensure a smooth, wrinkle free posing fabric.
How to Set Up a Newborn Photography Backdrop
1. Use lots of layers
Whether you are using a dog bed, table, or beanbag set up you will always want to use multiple layers underneath your backdrop in order to make it as smooth as possible. I use a plush king size blanket folded in fourths for my bottom layer. I set this right on top of my beanbag, with at least 2 other blankets on top that I clip to the top backdrop pole. The other 2 blankets that I use are a cheap fleece blanket, and a white scrap fabric. I like to use the white one on top just in case my backdrop is a little see through.
2. Clip it tight
Clipping the backdrop as tight as possible is key to setting up a backdrop the right way. It will save you SO MUCH editing time if you get your backdrop super smooth before photographing it. Be sure that your backdrop set up has somewhere that you can clip the backdrop tight. I like to use these clips. I clip up my under layers to the top and then move to the front of the beanbag. I pull them as tight as possible and clip on each side of the front and then in the middle. Be sure to pull it tight and then just a little bit tighter and clip it in place.
3. Use a high quality backdrop
All fabrics are not considered equal when it comes to photography backdrops. For tips on how to choose the best newborn photography backdrops, check out this post. You want to make sure that they are stretchy and thick so you can get them super smooth. Wrinkles are not fun to edit out in photoshop later. You can also shop our beautiful backdrop fabrics here.
4. Clip it tight
Put your backdrop on top of your under layers and clip it tight. As tight as you can and then just a little tighter. This is so important! Your backdrop should be super smooth with no wrinkles or bumps. If you still have areas that are not smooth you may need to pull it even tighter.
Additional things to keep in mind
When using posing beans or towels to help pose your baby on a backdrop, be sure to put them under ALL of your layers. The layers will help to soften the edges where you put the bean and will give your pose that beautiful seamless look.


Leave a comment